The Butter Experiment
I love cooking and wouldn’t trade my modern conveniences for anything, but I’ve always been fascinated at how we have cooked throughout history. This is rather obvious when you look at my cookbook collection … I have as many heritage cookbooks as modern; I think reading about historic cooking methods serves as a great way to learn about lifestyles through the ages … to learn about history.
Making butter is one of those tasks we see in movies and TV shows like “Little House on the Prairie” … churning was Thursday’s task for Laura Ingalls and her Ma! They, however, used a butter churn. While we still have one of those in the family, the idea of building arm muscles through butter churning isn’t overly appealing. Enter my KitchenAid Lift Stand Mixer!
Traditional Butter Recipe
Just for a little historic reference, below is the butter recipe from my 1896 “Ye Gentlewoman’s Housewifery”, by Margaret Huntington Hooker. I can just see me in my blue jeans and flip flops on the back deck with a glass of wine churning away! Ha! Nope. Not even on Thursday.
“To make butter: As soon as you have milked, strain your milk into a pot and stir it often for half an hour, then put it away in your pots or trays. When it’s creamed, skim it exceedingly clean from the milk, and put your cream into an earthen pot, and if you do not churn immediately for butter, shift your cream once in 12 hours into another clean pot. When you have churned, wash your butter in three or four waters, and then salt it as you will have it, and beat it well. Let it stand in a wedge if it be to pot, till the next morning, beat it again and make your layers the thickness of three fingers, and then strew a little salt on it. And so do until your pot is full.”
Modern Butter Recipe
Making butter in a mixer, however, is surprisingly easy. I had read a
bout the process on a few other food sites and decided to give it a try. I don’t have access to fresh cream, so purchased a pint of cream at the grocery store. I paid $3.38 for my cream and ended up with 1/4 pound of butter and 1 cup of butter milk that I also kept for baking. All-in-all it’s about the same price to make or buy for me … I tend not to buy name-brand dairy products. This might be a bit cheaper if you buy premium butter, but not by much.
That said, if you do have access to fresh cream, then this is definitely worth the small effort. Butter made with my store-bought cream was much better tasting that my typical store-bought butter!
I began with 1 pint of heave whipping cream. I started out using my blender and, when the blade began spinning without moving the cream, I decided that the mixer would be a better tool.
The cream will first turn into whipped cream. Then it will become more like a stiff whipped cream.
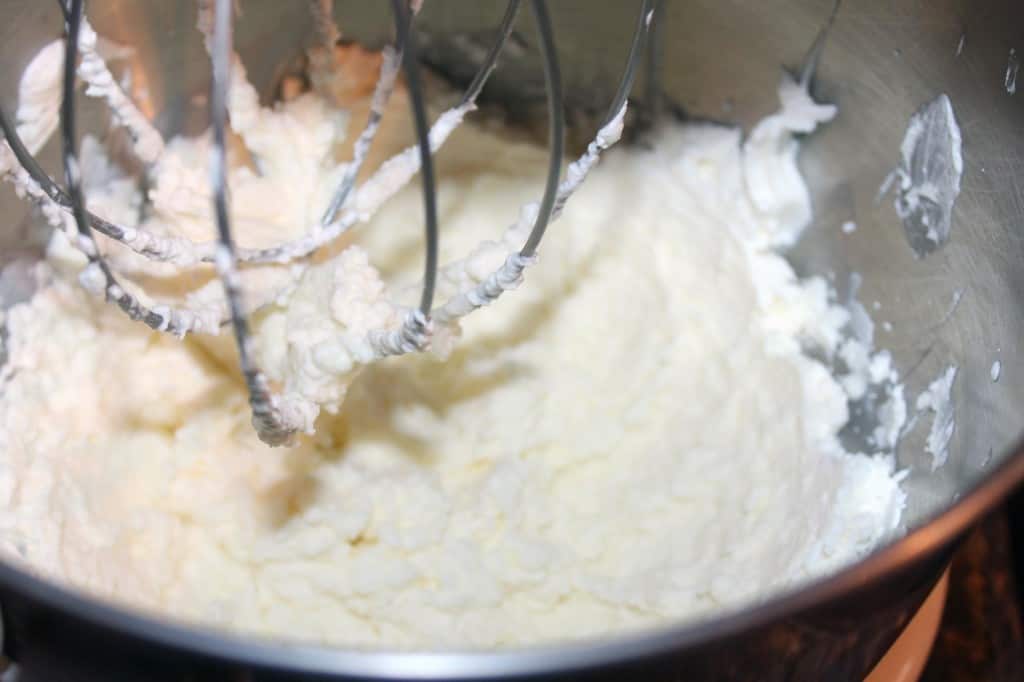 After about 5 minutes of beating (time depends on the power of your mixer), the fat begins to separate dramatically. You might even see buttermilk slosh up the sides of your mixer! Once you have the consistence in the below photo, it’s time to stop and strain the buttermilk off.
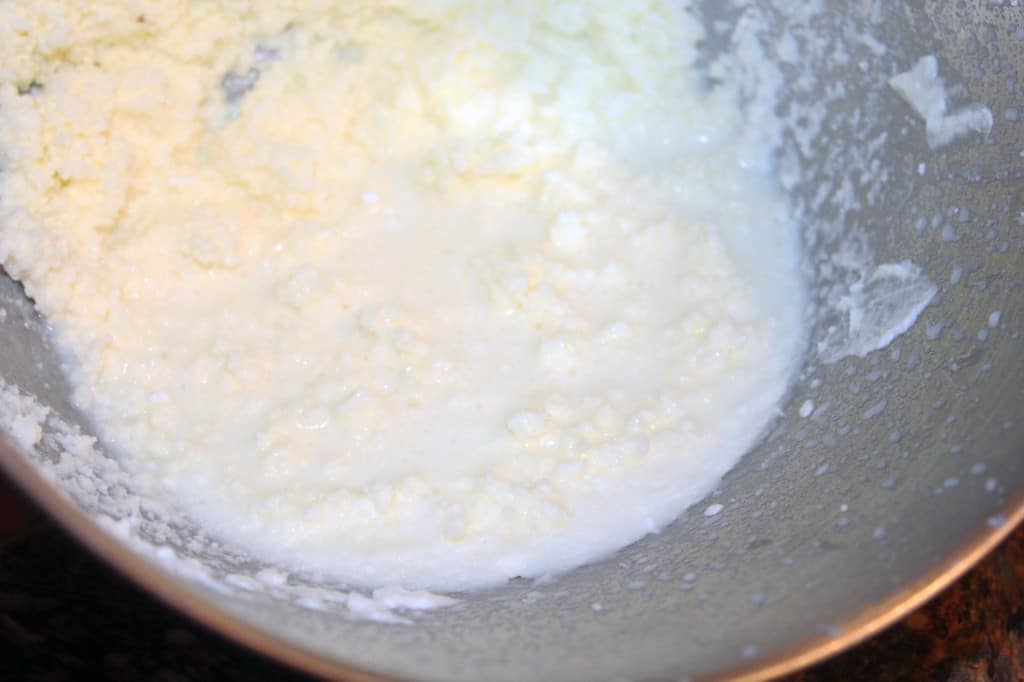 I used a simple mesh strainer placed over a measuring cup. I let it strain naturally, then I used a rubber spatula to force additional liquid out.
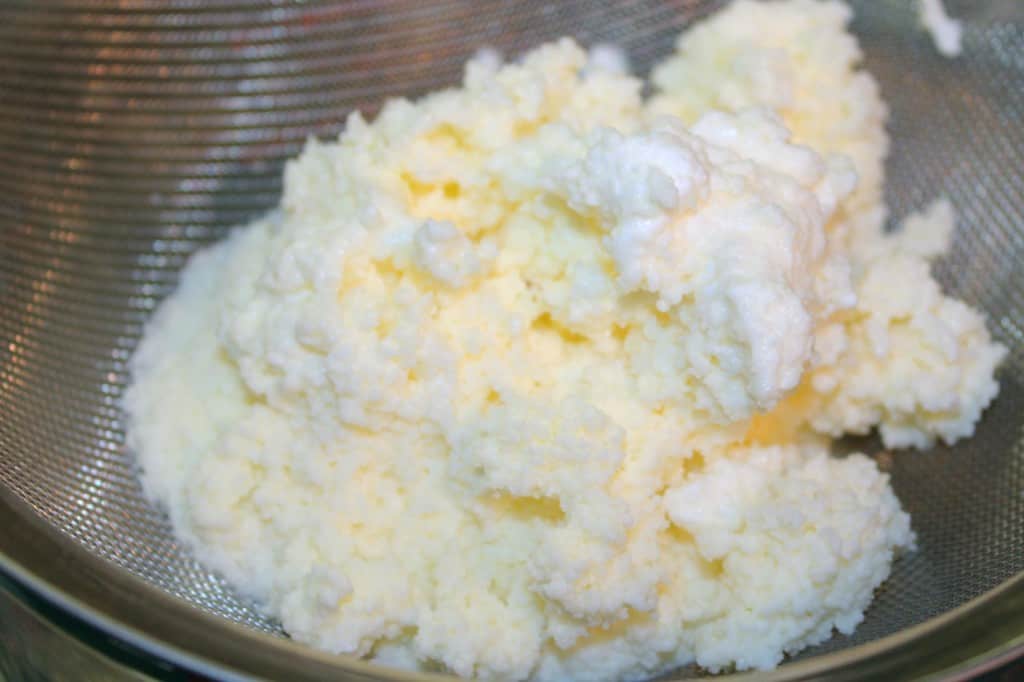
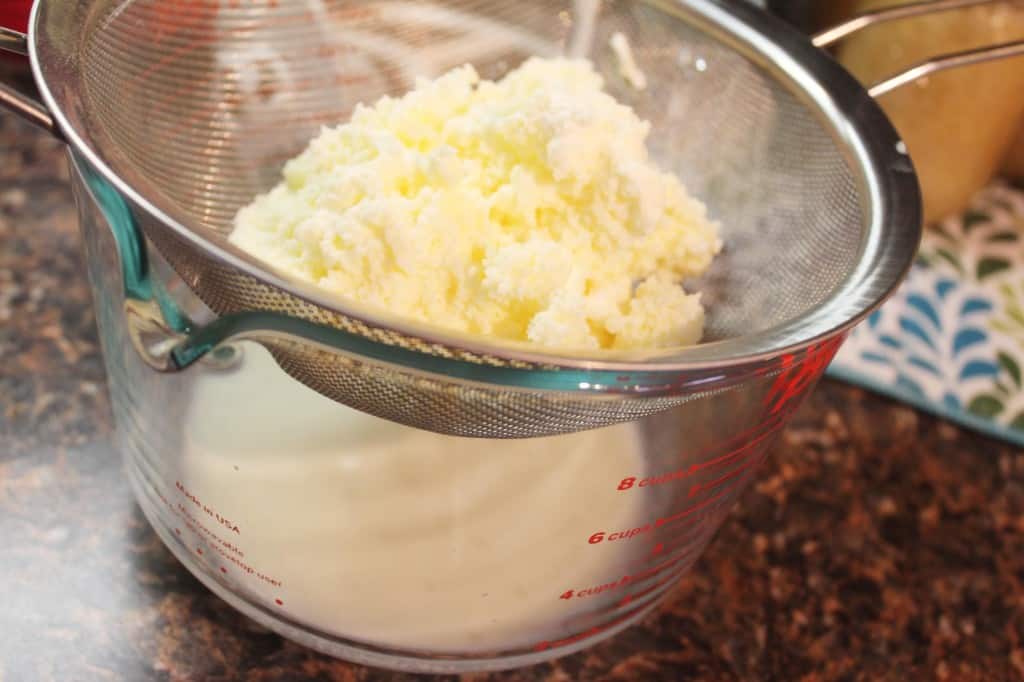 Even after straining, you’ll still have butter “granuals” … this looks more like ice milk than butter!
After straining, you need to wash the butter … yes, that sounds funny, I know. Washing the butter removes any remaining buttermilk and will add life to your butter. Otherwise, you run the risk of your butter going rancid in a few days. I simply moved my straining set-up to the sink and ran cold water of the butter while squeezing it. It feels a little like soft play-doh. Once the water runs clear, you’re done! The washing process also allows you to knead your butter so it comes to more of a “butter” consistency.
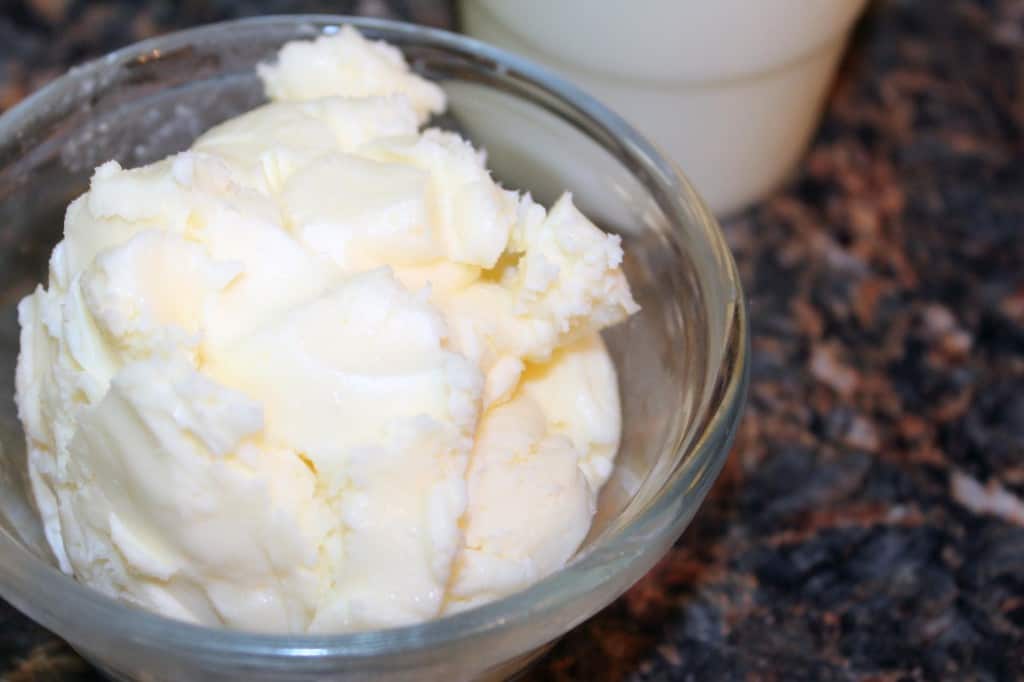 If you like salted butter, simply knead in a bit of sea salt before storing. Personally, I like mine unsalted. If you’ve removed all (or most) of the buttermilk, your homemade butter will keep for a couple of weeks in the refrigerator. Store in an air-tight container or wrap in plastic wrap for cold storage. You can freeze your butter for several months in a freezer-safe container.
Now I need to go bake some muffins to have with my homemade butter!

